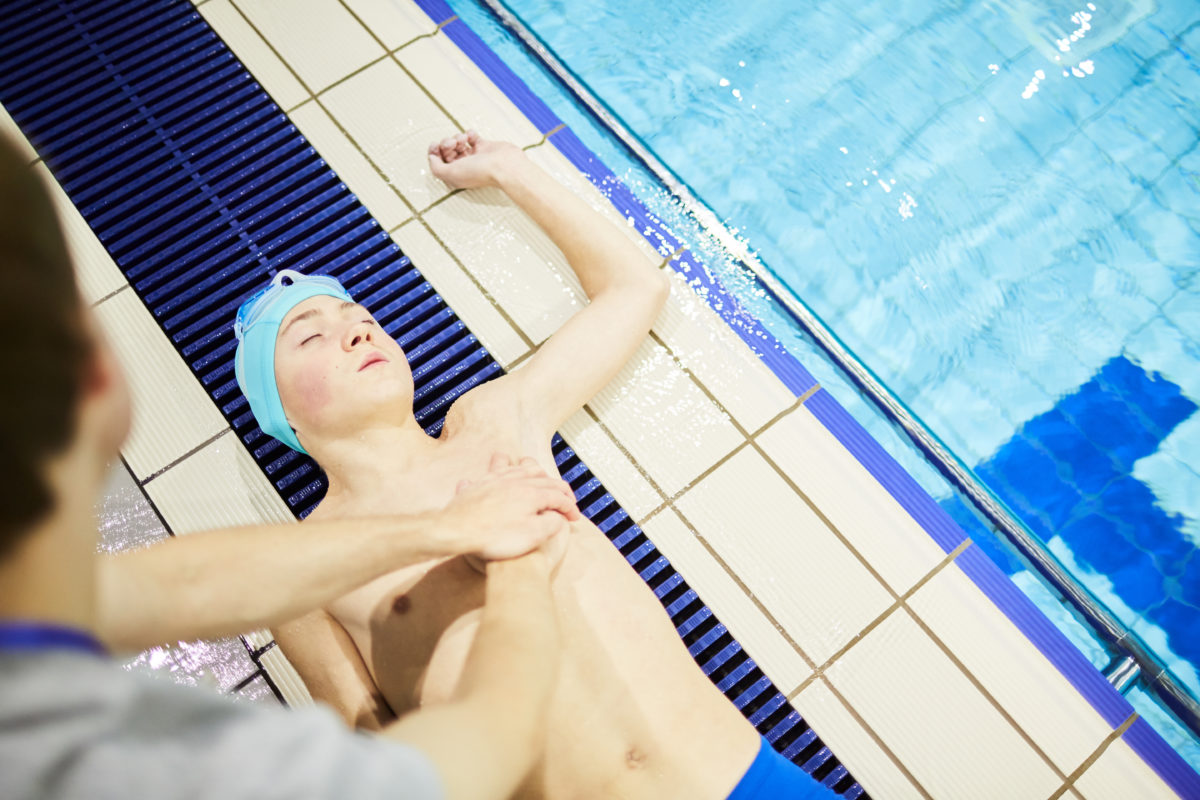
CPR For Children

Though many of the steps are similar when performing CPR with adults and children however, there key differences to acknowledge and always remember.
These steps are necessary for resuscitation for children.
C-Compressions: Applying this pressure to the lower half of the victim’s chest cavity forces blood to pump through the heart.
- To start, kneel next to the victim’s chest. Use your index and middle fingers to find the groove where the bottom of the two halves of the rib cage meet in the center of their chest.
- Apply the heel (bottom of your hand) of one hand to the victim’s breastbone, next to where you previously found the groove. Place your vacant hand on top of the hand that is in the position. Make sure to keep your fingers up and from the chest wall. If having troubles, try the compressions with interlocked fingers.
- For proper stance, bring your shoulders directly above the victim’s chest and press down while keeping your arms straight. (Difference 1) When doing compression, you may use one hand instead of using two. (Difference 2) Your compressions need to be 1/3 of the depth of the chest, would be around 2 inches of the child’s chest. Do NOT remove your hands from the victim’s chest BUT let the chest rise to its resting position between compressions. Make sure to keep your pace hard and fast at a rate of 100-120 compressions/min.
- Continue conducting these compressions at a constant compressions per minute, if you are comfortable providing rescue breaths during compressions, the proper ratio is 2 rescue breaths for every 30 chest compressions.
A-Airway: There are a couple of precautions to make sure that CPR is effective.
NOTE: This is for victim’s who are not breathing. If they are gasping for air, roll the person to their side, monitor, and wait for emergency professionals to arrive.
- Place the victim on their back on a firm and flat surface
- Kneel next to the victims’ shoulders
- To open their airway, carefully lift their chin forward with one hand and place your free palm on their forehead for support. To check for a sign of life, place your ear over the mouth of the child then, place your two first fingers on the carotid artery (found on the side of the neck). Count from 10-0 listening for a breath or feeling for a pulse. If there is no breaths, continue to breathing.
B-Breathing: This covers the mouth-to-mouth technique of rescue breaths
- Use the hand that is placed on the forehead and pinch the victim’s nose shut.
- Keep the heel (bottom of your hand) in place so the victim’s head stays tilted. Keep your other hand placed under their chin and lift it up.
- While keeping an airtight seal with your mouth, give your first rescue breath paying attention to the rise of the victim’s chest. If the chest rises, give your second breath. If the chest does NOT rise, re-position the head and restart your breaths. Make sure the mouth is clear of objects that could block the pathway.
- If everything is clear, continue your 30 compressions per 2 rescue breaths
